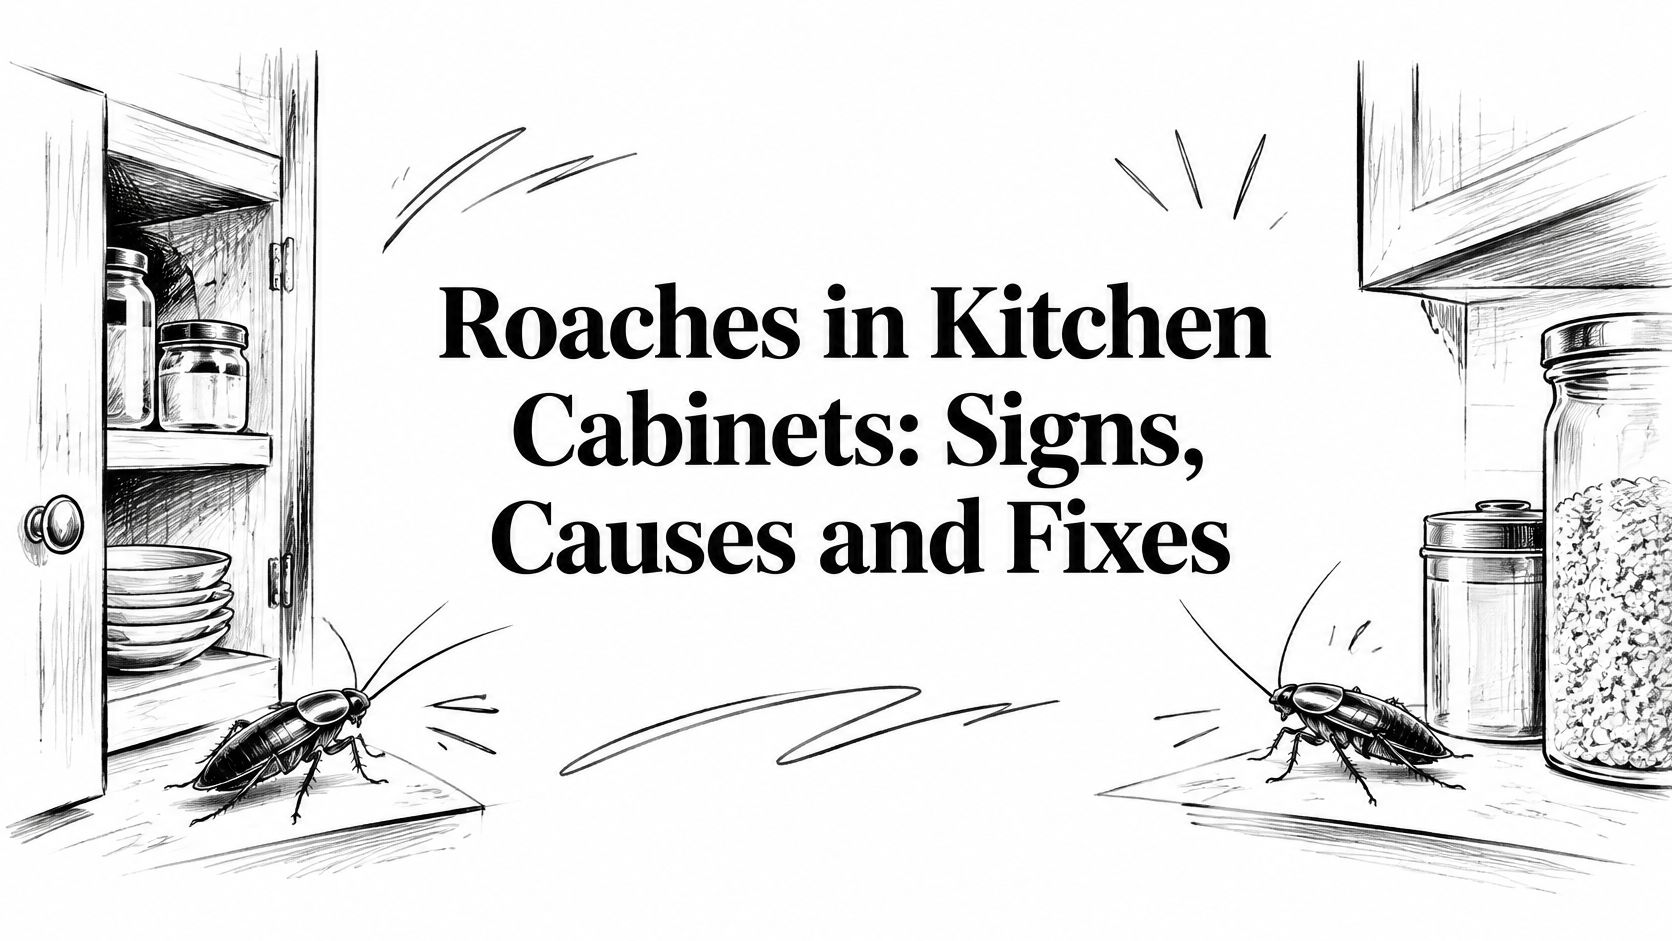
It's 7:12 on a Tuesday morning. You reach into the cabinet above the coffee maker for a mug and something brown moves along the hinge, fast, then disappears into the seam where the cabinet meets the wall. You close the door, tell yourself it came in from outside, and pour your coffee. By the weekend you've seen two more.
That moment usually starts one of two stories. In the first, the homeowner buys a can of spray, empties it along the baseboard, sees nothing for a week, and calls it handled. In the second, they work out that the cabinet was never the problem. It's the symptom: a weeping supply line, a gap behind the toe kick, a shared wall with the unit next door.
This guide treats roaches in kitchen cabinets as a building problem first and a pest problem second, because that's what the evidence supports. Cabinets concentrate everything a cockroach needs, and the defects that keep a colony alive are usually the ones nobody photographs.
Table of Contents
- Signs of Roaches in Kitchen Cabinets
- Why Kitchen Cabinets Attract Roaches
- Health Risks Hidden Behind Cabinet Doors
- Safe Steps Before You Inspect
- Inspect, Clean and Seal the Harborage
- Treatment Options Compared and When Each Works
- Decide Between DIY Control and a Licensed Pro
Signs of Roaches in Kitchen Cabinets
You don't need a blacklight or a professional kit to check a cabinet. A flashlight, ten minutes, and the willingness to move the cereal boxes will tell you most of what matters.
| Sign | Where to look | What it means |
|---|---|---|
| Black pepper or coffee-ground droppings | Cabinet floors, rear corners, drawer runners | Active feeding and resting area |
| Oval brown egg cases (oothecae) | Hinge seams, under shelf edges, joints | Breeding population, not a single visitor |
| Pale shed skins or cast shells | Shelf corners, drawer slides | Nymphs developing inside the cabinet |
| Musty or oily odor | Inside cabinets near the sink or dishwasher | Heavy infestation supported by moisture |
| Daytime sightings or scattering when lights turn on | Cabinet exterior, toe kick, counter edges | Hiding places overcrowded, large population |
Droppings are the most dependable sign because roaches leave them wherever they feed and rest, and cabinet floors and rear corners rarely get wiped. They look like fine dark grit, not pellets. If the specks are rod-shaped and clustered in one corner, you're reading rodent evidence, not roach evidence.
Egg cases are the sign that changes the conversation. A single casing tucked into a hinge seam means a female completed a reproductive cycle inside your cabinet, and the population is established rather than passing through.
What to do with the evidence: Photograph the droppings, casings or skins before you clean anything. A dated photo is what gets a repair approved by a landlord or an HOA board, and it's what a technician uses to confirm the problem hasn't been misdiagnosed.
Shed skins tell you the colony is growing, not just surviving, because nymphs only leave cast shells where they develop. A musty or oily smell near the sink or dishwasher is the strongest single indicator of a large population living in a damp void. Roaches moving in daylight are the last warning, because they only break their night schedule when the hiding spaces are full.
One sighting may be a wanderer that came in on a grocery bag. Two or more of these signs in the same cabinet confirm an established harborage. Homeowners who want a fuller checklist of what each clue looks like can work through this guide to the signs of roach infestation before deciding what to buy.
Why Kitchen Cabinets Attract Roaches
The cabinet under the sink works like the best room in a small hotel. It stays dark and warm. A slow leak keeps the wood damp. Crumbs, grease film, and cardboard keep arriving. A cockroach moves in when four conditions line up: darkness, humidity, food residue, and a narrow gap to wedge into. That base cabinet usually supplies all four.
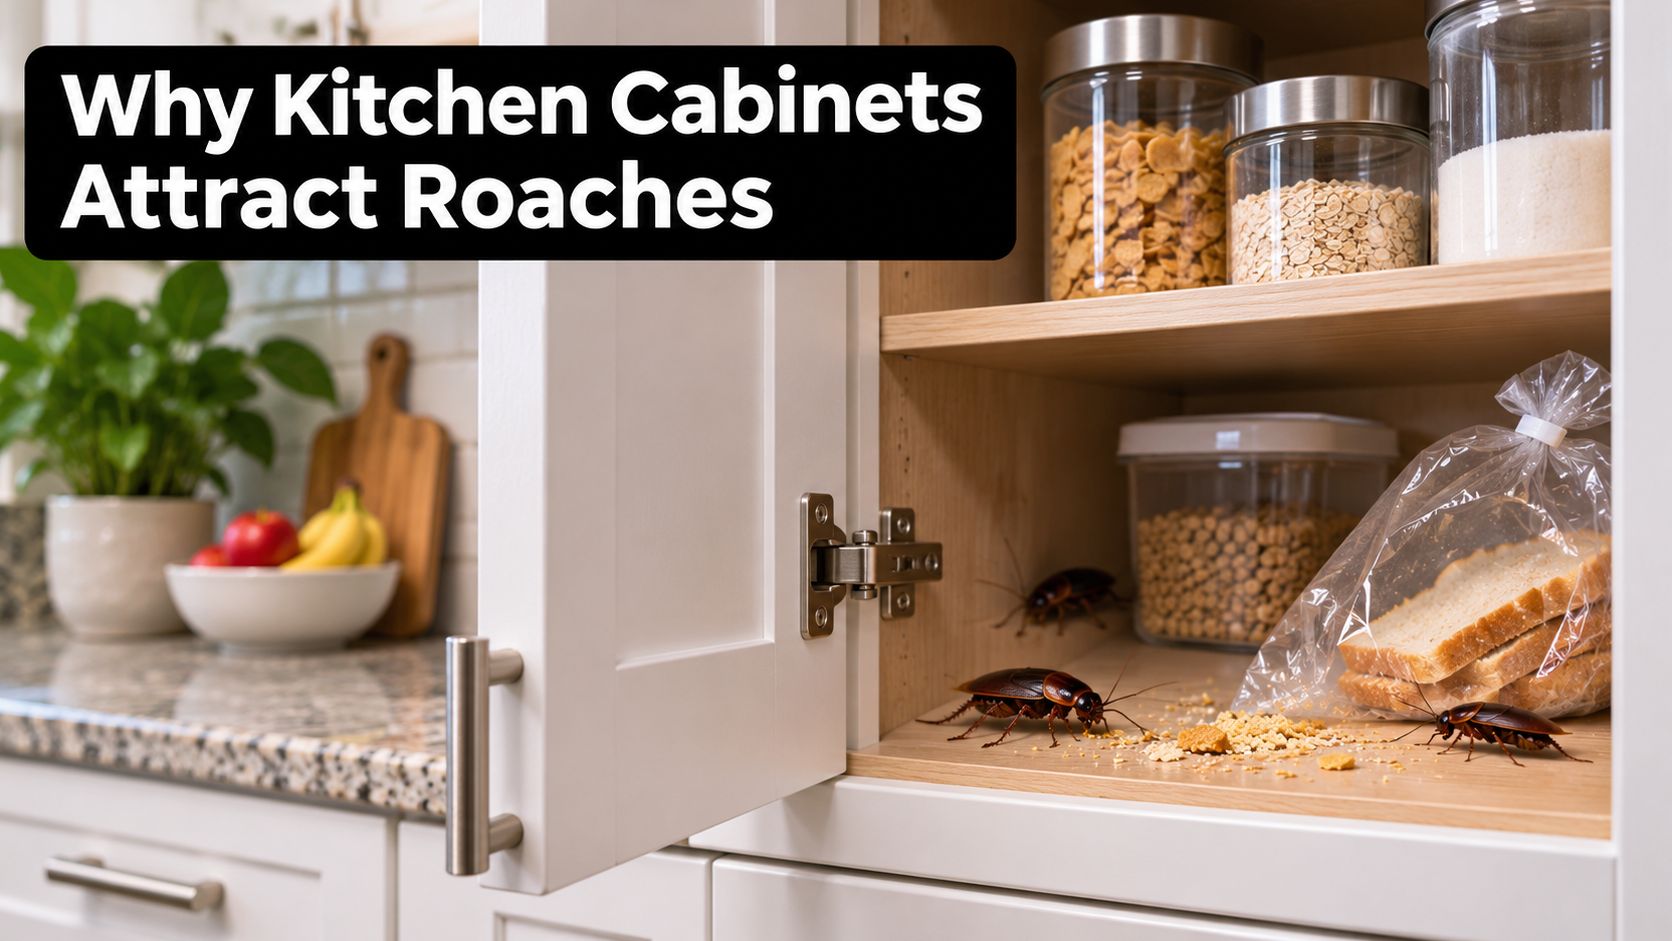
A 2006 study in the Journal of Entomological Science monitored feeding activity in two apartment kitchens for four consecutive days, using six sensors per kitchen placed below and above the sink, beside the stove, behind the refrigerator, on the counter, and on top of the upper cabinet. In both kitchens, feeding activity was highest in the cabinet below the sink, followed by the areas beside the stove and behind the refrigerator. Activity was lower above the sink, on the countertop, and on top of the upper cabinet.
The busiest spots were the dark, humid ones.
Light and foot traffic suppress feeding, so a spotless kitchen with dark, damp corners still attracts roaches. A wiped counter does not dry a leaking trap or close the slot where the toe-kick meets the wall.
| Location | Relative feeding activity | What the spot offers |
|---|---|---|
| Cabinet below the sink | Highest | Darkness, humidity, food residue, a tight gap |
| Beside the stove | High | Heat and grease film |
| Behind the refrigerator | High | Warmth, darkness, a void against the wall |
| Above the sink | Lower | More light, less stable moisture |
| Countertop | Lower | Light and steady foot traffic |
| Top of the upper cabinet | Lower | Drier air and little food |
The building is doing as much work as the food. A drip under the sink replaces the humidity roaches lose when a door opens. The gap behind the refrigerator and the shared void inside the wall let them travel between cabinets without crossing the floor you mop. Sealing those gaps and correcting the moisture matter as much as which product you choose. Spraying the roach on the shelf hits the animal you can see and leaves the damp harborage that keeps producing the next one.
Where to look first: The sink base, the cabinet beside the stove, and the gap behind the refrigerator. Those three zones hold the heat, the moisture, and the food that predict activity, so the flashlight starts there.
Health Risks Hidden Behind Cabinet Doors
Cockroach allergen is an indoor-air problem, and it does not stay behind the cabinet door.
A cabinet works like a leaky pipe inside a wall. The colony sits in a dark void, often kept going by a drip under the sink or a gap shared with the next cabinet, and the waste it leaves does not stay put. Allergens come from droppings, saliva, and body fragments. They dry, crumble into dust, and settle on shelves, on top of the fridge, and in the air you stir up while you cook.
A CDC asthma trigger resource cites a U.S. Environmental Protection Agency report that found detectable cockroach allergen in 63% of American dwellings, with 10.2% above a concentration linked to asthma morbidity.
Skin testing shows that cockroach allergy is common, and it shows up more often among children who already have asthma and live where roaches are routine. For those children, allergy plus ongoing exposure lines up with more wheezing, more missed school days, more emergency-room visits, and more hospitalizations than either factor alone.
The practical consequence: Occasional sightings still matter. Allergen keeps collecting in settled dust between the nights you see a roach, and wall gaps carry that dust past the cabinet where the colony lives.
Spraying the insect on the shelf does not stop that supply. A drip, clutter, and an open void keep making fresh particles. If anyone in the home has asthma or allergies, treat the cabinet as an air-quality job starting today. Wet-wipe shelf edges and cabinet floors with a damp cloth, then throw the cloth away. Dry dusting lifts the same particles back into the room. A HEPA vacuum, with the bag sealed and taken outside, lowers what the household breathes while the harborage is still being found. That cleaning does not replace treatment of the colony.
Safe Steps Before You Inspect
Six precautions, one evening, before you open a single cabinet door. Each one protects either you or the accuracy of what you're about to learn.
- Don't fog or spray inside cabinets. Aerosols push roaches deeper into voids and leave residue that can deter them from taking bait later, which wrecks the trap-based mapping you're about to do.
- Wear gloves and a mask before vacuuming. Droppings, casings and shed skins carry the allergens described above, so bag the vacuum contents and dispose of them outside.
- Keep bait and stations away from children and pets. Place them inside cracks, voids or behind appliances rather than on open shelf surfaces where hands reach.
- Read the product label before you buy anything. Placement, dose and disposal rules are set by the label, not by a video or a forum post.
- Seal food and clear the counters overnight. Open crumbs give the colony a competing food source that makes bait less attractive.
- Wash up after handling cabinet contents. Wipe the sink surround and wash your hands before you move on to food preparation.
Cleaning a cabinet is not the same as sanitizing it, and knowing where each one stops matters when you're dealing with allergen-laden dust rather than visible grease. The Maid in America surface hygiene guide explains the distinction clearly and helps you decide which step each surface needs.
Inspect, Clean and Seal the Harborage
You open the sink base at night and a few roaches bolt for the pipe hole. That hole, a damp seam, and the warm void behind the stove are the colony's hallways. Cabinet infestations follow routes, and routes can be mapped. Work through these steps in order, ideally across a week rather than an hour, so the counts mean something.
- Empty the sink base cabinet and photograph it. Shoot the contents and the cabinet floor before you disturb anything, because disturbed evidence can't be photographed later.
- Place sticky traps along the routes, not in open space. Back corners, hinge edges and the gaps where pipes pass through the cabinet floor.
- Leave the traps for several days. One night of data misleads, because a single roach crossing a trap looks like a hotspot when it isn't.
- Inspect with a flashlight. Hinges, drawer slides, shelf joints, and the seam where the cabinet box meets the wall or floor.
- Count captures by location. Keep the sink base, the stove-side cabinet and the refrigerator zone separate so you learn which one is active.
- Note the life stages you find. Nymphs, adults and egg cases each point to a different stage of breeding, and nymphs mean the cabinet is a nursery.
- Log dates, counts and photos in one place. A simple notebook or a shared note works, and it's what you hand to a landlord, an HOA board or a technician.
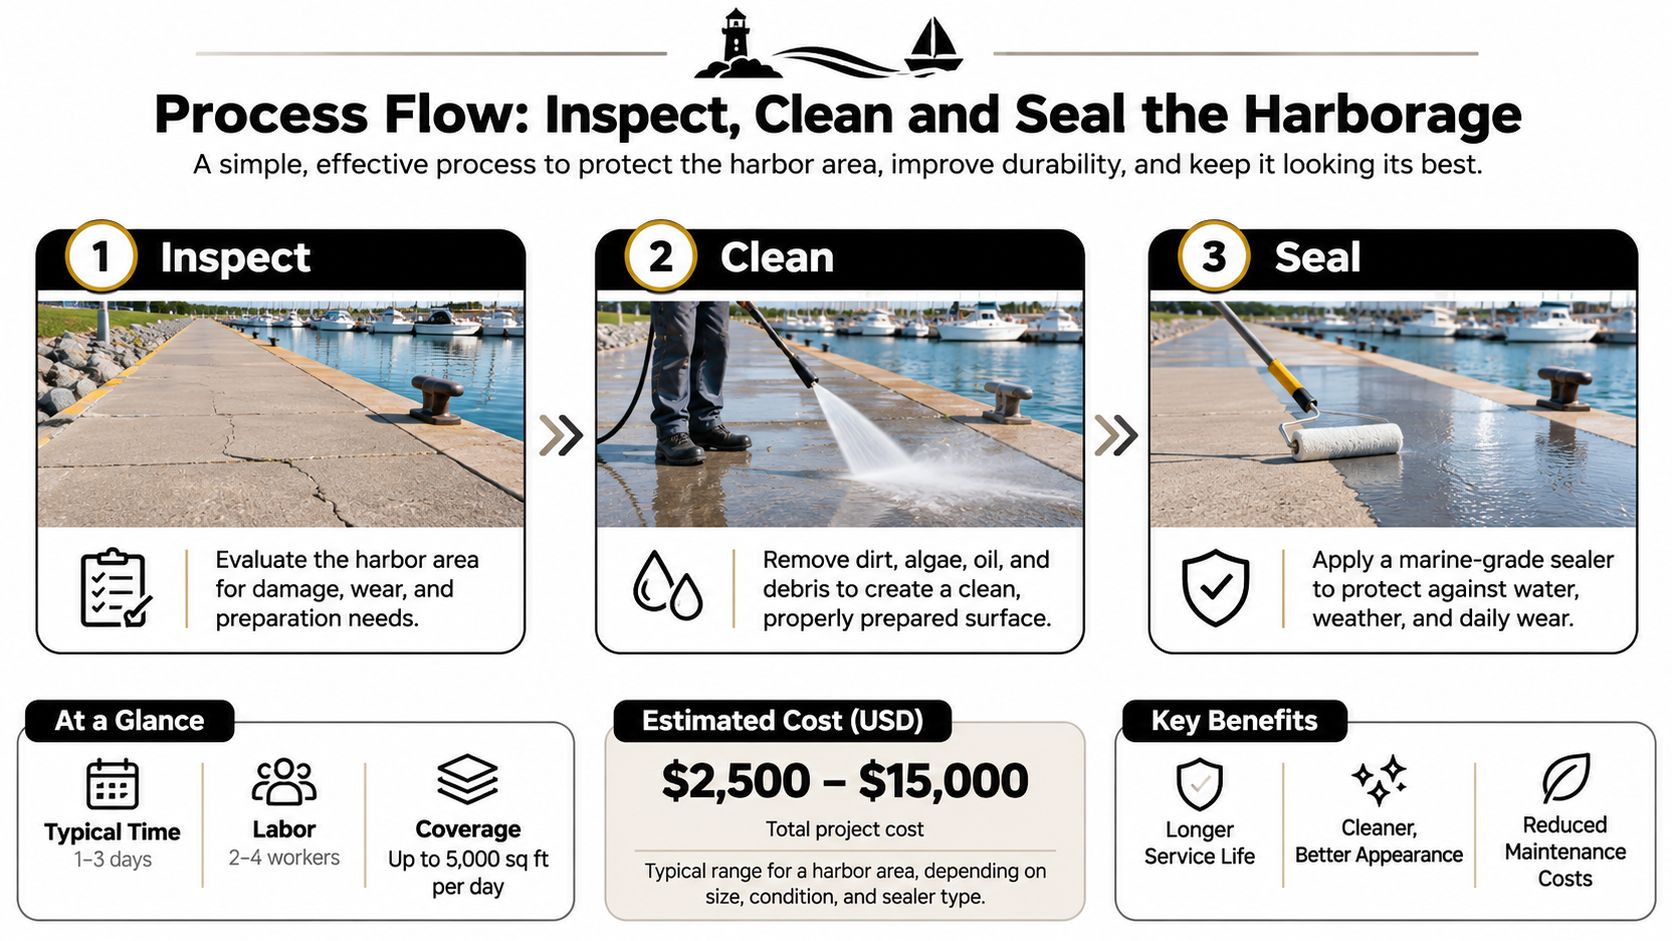
Build the trap map first
Sticky traps do the job that eyes can't. They work like motion sensors in a hallway: a catch shows traffic, not the whole nest. Use them first to identify active harborages, then vacuum crumbs, shed skins and insects out of cabinet joints and appliance voids. That order matters. Traps tell you where to spend effort, and cleaning after mapping doesn't erase the information you just paid for with a week of waiting.
Clean what feeds the colony
Once the map is clear, clean the harborage properly. Empty the cabinet, discard contaminated packaging, vacuum shelf edges and hinge recesses, and clean grease deposits rather than just wiping around them. Grease film on the cabinet above a stove is a food source even when it's invisible. Store food in sealed glass, plastic or metal containers, because a folded cardboard box is an open invitation and corrugated edges hold both crumbs and egg cases. Clutter does the same job as leftover food: it gives the colony cover between meals.
A deep clean of the cabinet fronts and the grout beneath them belongs on the same list. Use this guide to tackle greasy cabinets and grout without spreading residue onto shelves you've just cleared.
Repair the building, not just the shelf
Most cabinet guides start with cleaning. The better starting point is the building. Cabinet roaches are often a building-maintenance problem: leaks, wall gaps and shared voids sustain them. A pooled analysis of nine U.S. housing studies, summarized in a CDC-hosted housing and allergen review, found that visible wall cracks or holes were associated with more than twice the odds of high cockroach allergen levels (OR 2.1). Water leaks and below-average housekeeping also showed higher unadjusted odds.
So the question worth asking is which cabinet, plumbing, wall or neighboring-unit defect is sustaining this colony, and who is responsible for fixing it. A slow leak works like a drinking fountain the colony never has to leave. In a Miami-Dade condo or an attached home, cabinet voids, pipe penetrations and shared walls give roaches a route back in after any treatment. Sealing a wall-to-cabinet seam and repairing that leak can matter as much as the product you choose.
Inspection checklist for the building side: hinge mechanisms on both faces, rear cabinet corners, the gap where sink plumbing enters the cabinet floor, the seam where cabinets meet walls and floors, the dishwasher void, the stove drawer, visible water stains or soft board under the sink, and any shared wall with a neighboring unit. Screen vents and drains, and seal openings with a product rated for the surface. Then document each condition with a photo and a date.
When the answer is a live colony rather than a lone wanderer, Cockroach Control starts with an inspection that identifies the species and maps harborage zones and entry points. Treatment uses gel baits, insect growth regulators, and crack-and-crevice applications where roaches live, along with sanitation guidance on moisture, food storage, and clutter. Bait placement follows the same logic as your trap map. The University of Maryland Extension cockroach guidance sets a standard of using at least 10 stations in a kitchen and inspecting them after 4 to 6 weeks, following the label for exact placement, and sanitation is what makes that count work.
Treatment Options Compared and When Each Works
You wipe a few dead roaches off the under-sink shelf and spray the corner you can see. By morning, live ones are back on the hinge. The colony is not living on that shelf. It is using the damp void behind the cabinet, a slow leak, and the gap around the pipe. Product choice matters, but so does closing the building defects that keep feeding the insects.
| Option | Best for | Main limitation |
|---|---|---|
| Sticky traps | Locating active harborages and tracking counts | Monitor only; they do not control the population alone |
| Gel bait in crack-and-crevice or void spots | Under sink, behind fridge, along cabinet edges | Must stay fresh and be replaced when consumed or dried |
| Liquid spray or fogger | Knocking down roaches visible in the open | Can push roaches deeper and deter bait feeding |
| Insect growth regulator | Stopping nymphs from maturing | Slow-acting; works best alongside bait |
| Licensed professional treatment | Heavy, repeat or multi-unit infestations | Severe infestations may need a follow-up visit |
Placement decides whether bait works, far more than the amount applied. EPA-approved gel directions describe crack-and-crevice, spot and void applications behind or beneath cabinets and sinks, around plumbing penetrations, and inside construction voids. Roaches travel along edges and protected gaps the way a bead of water follows a pipe joint instead of crossing a dry counter.
The Utah State University Extension cockroach IPM manual makes the same point operationally: several small placements of roughly pea-sized or less, where the label permits, beat one large deposit.
Why more placements beat one big dose
A roach finds bait by walking into it. Small dots along a hinge line, along the back edge of a shelf, and around the pipe collar sit on that route. The insect meets the product during ordinary movement. It does not have to leave the wall gap to hunt a single pile in the middle of the cabinet floor.
Keep sprays, harsh cleaners and strong-smelling products away from those dots. Contamination and repellent odors cut feeding. A fogger that drives roaches deeper into a shared wall can also make them avoid the bait you just placed.
Freshness is the other failure point. Gel skins over, dries and stops attracting roaches, so check stations periodically and replace anything consumed or hardened. Bait that has been sitting since last summer no longer attracts roaches and should be replaced.
What a professional sequence looks like
Pestless cockroach control starts with an inspection. A technician identifies the species and maps harborage zones and entry points. A German cockroach breeding inside a cabinet void and an American cockroach coming up a drain are not the same job.
Treatment uses gel baits, insect growth regulators, and crack-and-crevice applications where the roaches live, including damp seams and wall gaps that sustain the colony. Most homeowners see a sharp drop in roaches within one to two weeks, and severe infestations may need a follow-up visit. That return visit confirms the population is collapsing and treats any surviving pockets.
A 2025 intervention study indexed in PMC reported that the geometric mean German cockroach count per apartment fell by 99% in the intervention group after six months, with traps placed inside the kitchen cabinet under the sink.
In multi-unit housing, one cabinet is never the whole story. Wall, ceiling, plumbing and utility penetrations connect units, so treating a single kitchen without inspecting adjacent apartments and shared voids leaves a route back in. Property managers should record trap counts by room, inspect behind refrigerators, dishwashers and stoves, repair plumbing leaks, seal penetrations, and let licensed professionals select products and application rates under local rules.
For a closer comparison of how baits, growth regulators and monitoring fit together, see this breakdown of cockroach control methods.
Decide Between DIY Control and a Licensed Pro
| Situation | Next step | Escalate when |
|---|---|---|
| One sighting, no droppings or egg cases | Clean, seal and monitor traps for two weeks | Traps catch roaches again |
| Droppings, egg cases or daily trap catches | Start sanitation and gel bait placement this week | No clear drop after two weeks |
| Repeat infestation after treatment | Book a licensed inspection and document conditions | Roaches return after the first treatment |
| Multi-unit building or shared walls | Coordinate with the landlord or HOA and inspect adjacent units | Defects are outside your unit |
The rule is simple enough to apply tonight. A single sighting with no other evidence is a cleaning and monitoring job. Droppings, casings or daily trap catches mean the cabinet is a harborage, so sanitation and bait placement start this week. A repeat infestation after treatment, or a building with shared walls, is a licensed inspection rather than another can of spray.
When the decision comes down to hiring help, this guide to choosing a licensed pest control professional walks through the questions worth asking before anyone treats a cabinet.
When a professional is the right call, Pestless matches customers with local providers for termites, cockroaches and palmetto bugs, ants, rodents, mosquitoes and bed bugs. Homeowners describe the problem through a short online form or a phone call and receive quote requests for cockroach control, with six services available by quote request. Pestless is a matching service and does not perform treatments itself.
The first visit at a provider should be an inspection, not an application. A follow-up return visit is what confirms the population is collapsing and treats any surviving pockets, and it's the step that separates a real program from a one-off spray.
Start with the cabinet, not the phone. Empty the sink base, map the traps for a week, photograph the droppings, and write down every leak, gap and shared wall you find. That log is what turns a vague complaint into a repair request or a precise quote.
Pestless Inc. connects Miami and Miami-Dade homeowners with local providers for cockroach control, including the cabinet and void work this article describes, and it does not perform treatments itself. If your trap map points to a colony rather than a single wanderer, describe what you found and request a no-obligation quote from a matched provider. Visit Pestless Inc. to start the request and compare your options.
Dealing with this pest right now?
Pestless connects you with a licensed, insured Miami pest control provider for a free, no-obligation quote.